How to Use BW-921
Moulds should be clean and free of contaminents. To clean silicone moulds you can pour in boiling water from the kettle and let it soak for a few minutes. Pour out water and wipe inside with a cloth or you can even scrape the sides with a spoon or other tool.
During Canadian winters, you may find it beneficial to warm up your silicone moulds prior to use. This can be done in the oven at the lowest setting until the inside is warm to the touch. The room temperature where pouring occurs should also not be lower than 22C. Wrapping old towels around moulds works to retain heat, preventing candles from cooling down too quickly. The use of a heat lamp can also aid in keeping a proper temperature for candles while they cool.
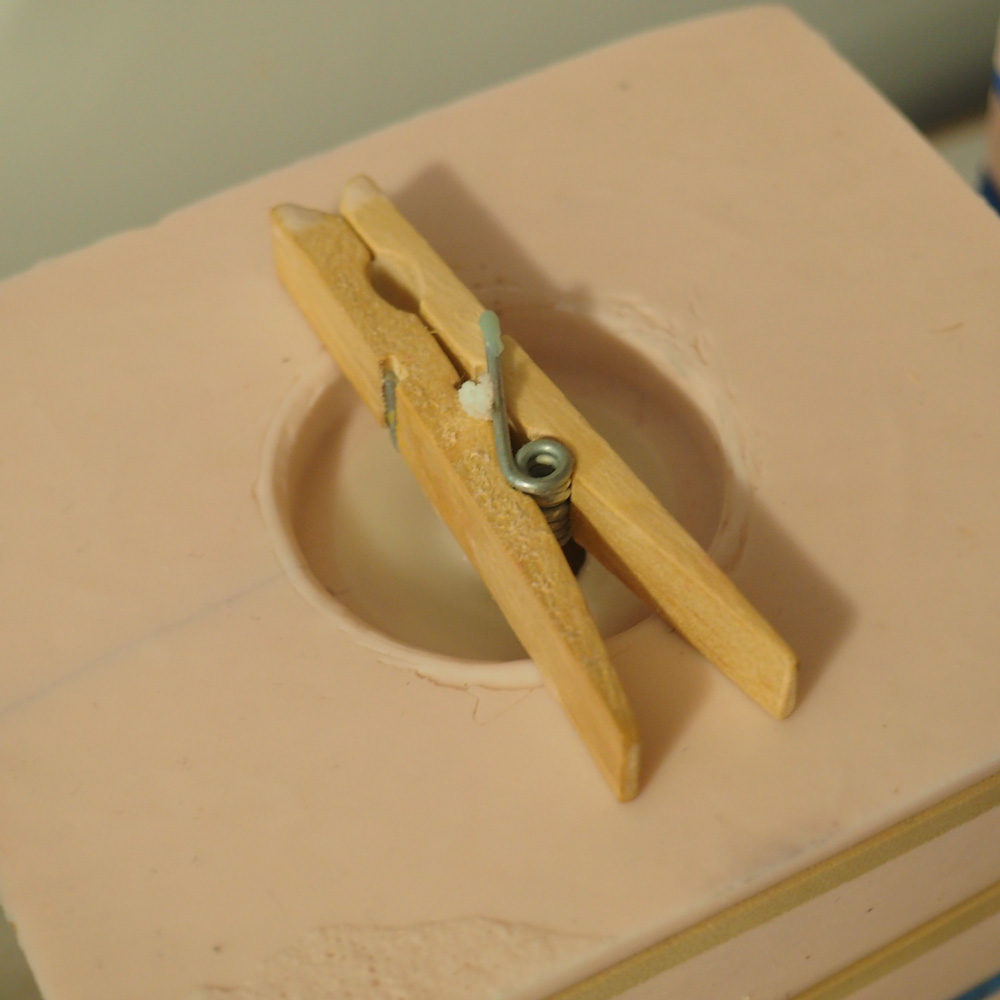
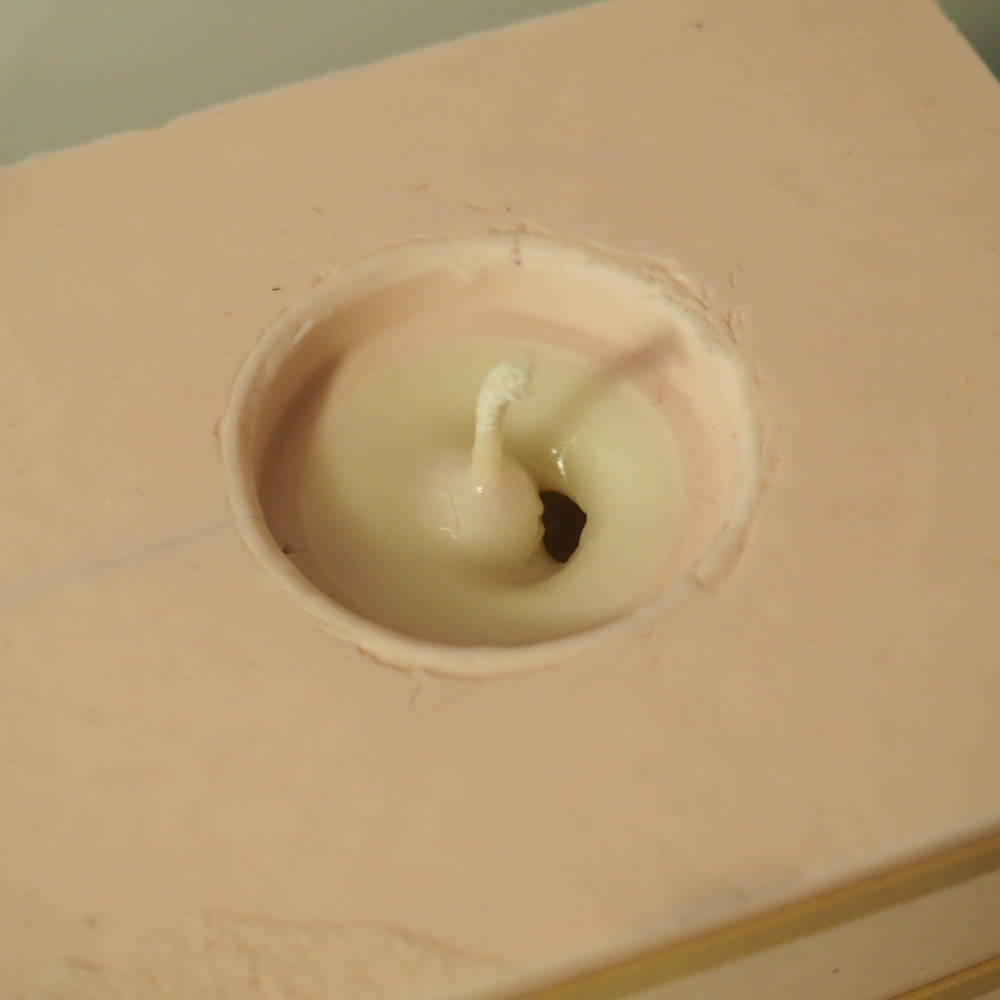
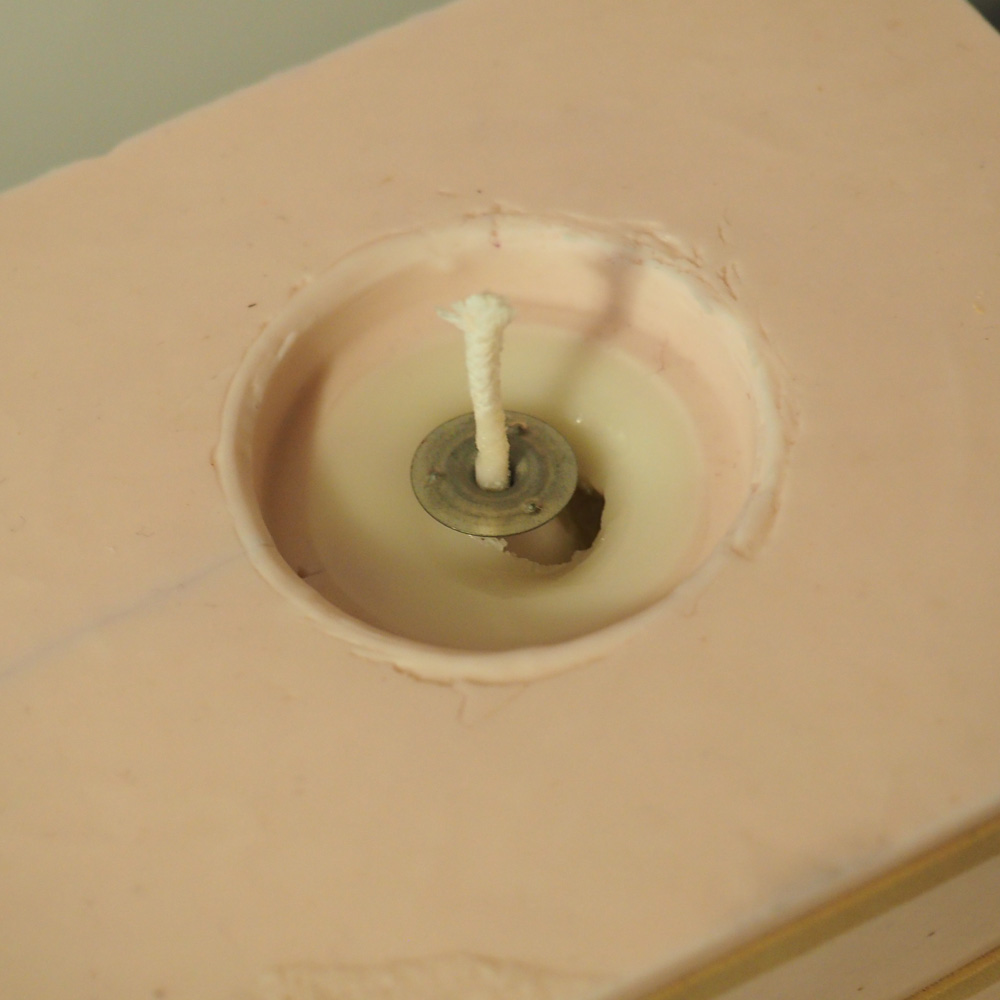
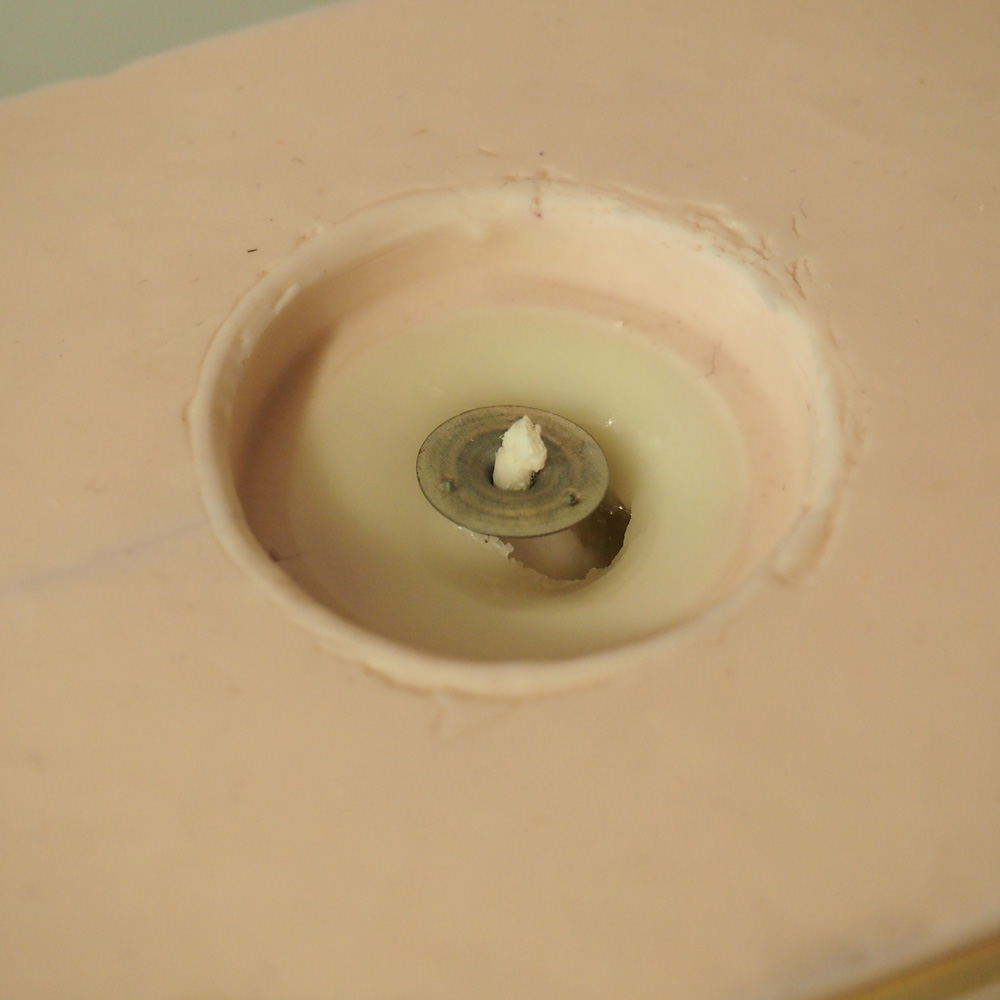
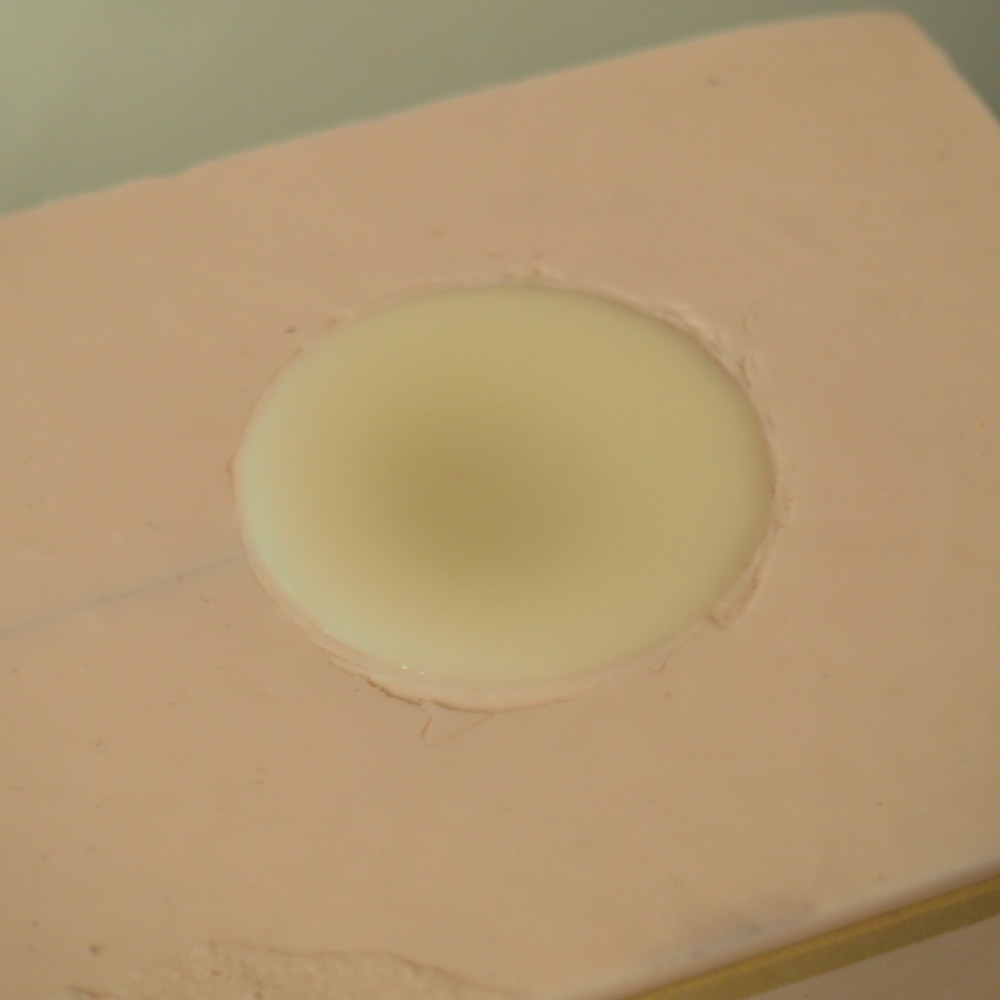
Dye and fragrance/essential oils can be added once wax has fully melted. Fragrance oil can be added at 185F (essential oils at 165F because they are more sensitve to heat). My ideal pour temperature is 160F, but experiment to find out what works best for you & your moulds. Make sure to fully stir your fragrance for a minimum of 1 minute. Depending on the size of your candle, a second pour may be required (when mould opening is 2" or less). *When making my candles, I fill my moulds up to only 95%. Once the exposed bottom of candle has hardened a bit, I add the wick tab, cut the remainder of the wick and do the final pour to seal it up. Please see photos below for more details.
Deciding when to demould really depends on the size of your candle. Personally, I always wait a minimum of 6-8 hours before demoulding, but feel free to conduct your own tests. I use 100% cotton square braided wicks (Wedo RRD available in the shop), and use different sizes depending on the diameter of my candles.
If you experience:
Tunnelling while burning (full width of candle doesn't burn evenly, only a small vertical tunnel around the wick) - Your wick width is too small. You need to use a larger width based on the diameter of your candle.
Sinkholes during the candlemaking process - This should only occur when the mould opening is small (2" or smaller like the one in the photos below). Since the exposed surface is so small, it hardens too quickly before trapped air can escape. Candles with a larger base (bigger mould opening) should not experience this issue, as it takes longer for the surface to harden, therefore giving enough time for trapped air to escape.
White spots/Frosting - You may be pouring too fast, which will cause clusters of air bubbles to get trapped. Before pouring, make sure there are no bubbles in your pouring pot which can occur from agressive mixing. You can also tap all the way around the outside of your mould to pop air bubbles. If your moulds are not throughly cleaned, wax can build up in a thin layer along the inside of your mould and cause what looks like a subtle white film over your candle. Even if the inside of your mould feels smooth, that doesn't necessarily mean it is clean. Please follow cleaning instrustions mentioned at the top of the page.
White lines - The wax is getting "shocked" and creases when it touches the mould because the mould and wax are not close enough in temperature.